CRB Butt Wrap Alignment Tool
Whether you are an expert doing intricate wraps or a novice trying out your first diamond wrap, the CRB-BWAT will help take your decorative work to the next level.
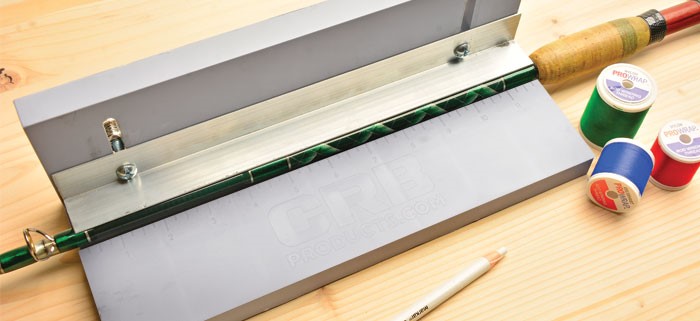
The Butt Wrap alignment tool streamlines the process of laying out and aligning even the most complex decorative wraps. With help of the V-notch base that cradles and centers the blank, the attached aluminum straight edge allows builders to line up the crosses of butt-wraps on any axis.
Butt Wrap Alignment Tool Features:
- Easily lay out and align all decorative cross-wraps.
- Molded embossed 12″ ruler with 1/4″ increments
- Adjustable aluminum straight edge
- Compatible with blanks larger than .350″ O.D.
3 Simple Steps to Build CRB’s Butt Wrap Alignment Tool
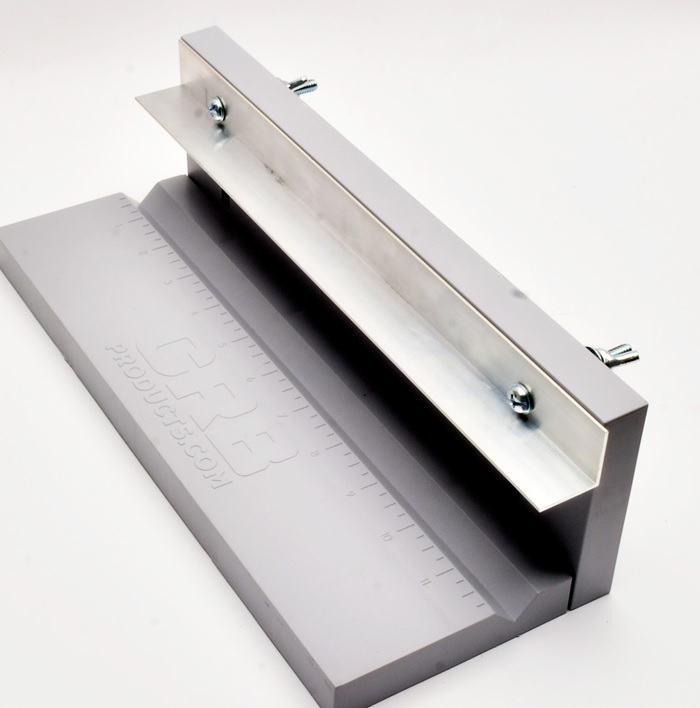
The CRB Butt Wrap Alignment Tool helps give your decorative wraps the precision and pride of a professional.
Built in only 3 steps, the CRB Butt Alignment Tool is easy to assemble and even easier to use.
Here are the 3 steps to building CRB’s Butt Wrap Alignment Tool:
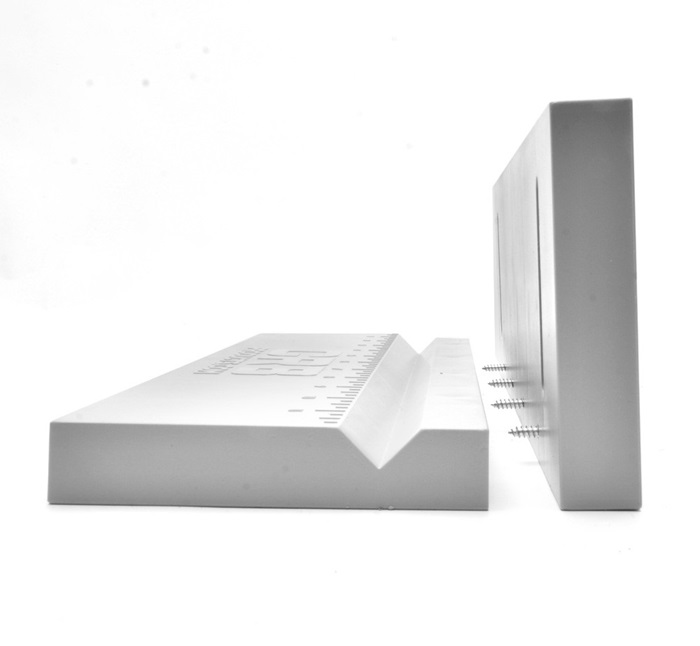
1. Mount the Base
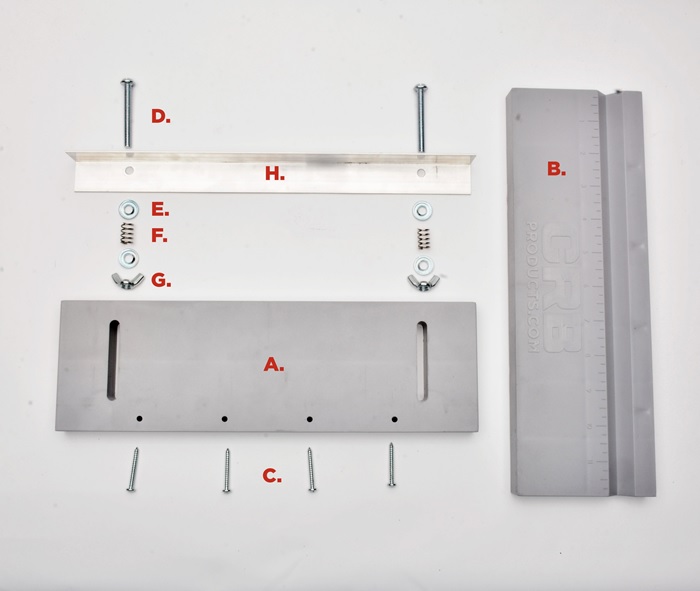
To start, establish the structure of the Butt Wrap Alignment Tool by mounting the vertical base (A.) to the horizontal base (B.). Notice the four holes on the side of the horizontal base that align with four on the backside of the vertical base, this is where to apply the four smaller screws (C.).
Screw each one in through the backside of the vertical base and into the horizontal base for a secure fit.
2. Attach Spring-Loaded Straight Edge
Take the two large bolts (D.) that will attach the straight edge to the base and lay them on the table. Knowing that the straight edge and vertical base come right after the bolt’s head, lay out a washer (E.), a spring (F.), another washer (E.), and then, the nut (G.).
Here is a diagram of the spring-loaded bolt system to help:
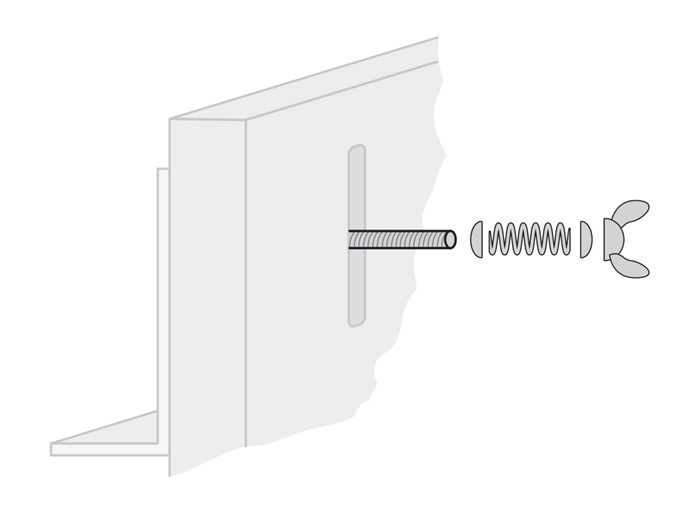
Now, install the straight edge (H.) on the vertical base with the two large bolts (A.). Holding the straight edge in place, slide each bolt through the holes of the straight edge and the slot in the vertical base.
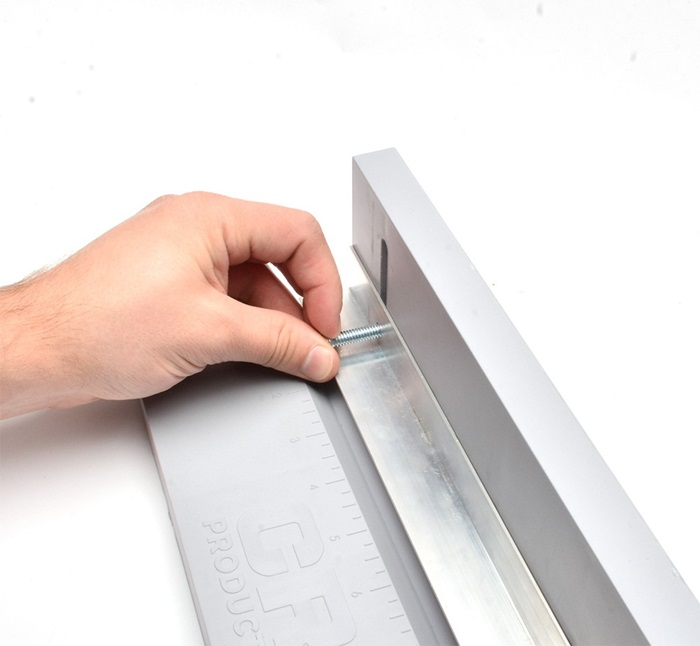
Next, slide the first washer (B.) on the back of the bolt (D.), with the washer facing towards you. Then, add the spring (F.) followed by the second washer (E.), but this time facing the spring. Make sure the washers enclose each spring for the best results when raising and lowering the adjustable straight edge.
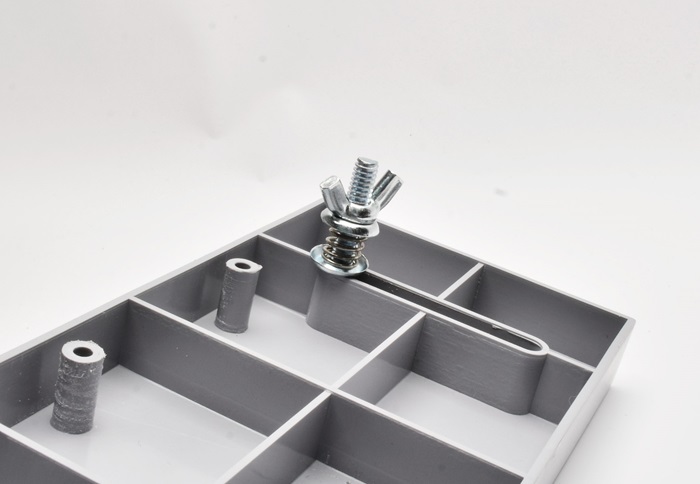
Finally, tighten each spring-loaded bolt down with the nuts (G.), and you have an adjustable straight edge capable of finding the center line on any rod blank.
3. Start Creating Your Own Decorative Butt Wraps
With your CRB Butt Wrap Alignment Tool complete, get to wrapping some awesome thread patterns on the butt section of your rod blank!
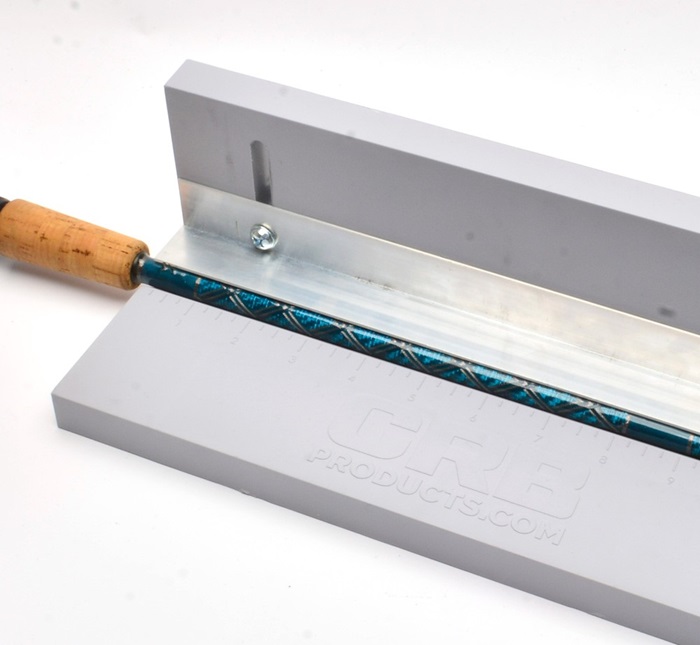
The CRB Butt Alignment Tool is the best way to execute decorative butt wraps with incredible precision to get those professional results that really wow out on the water.


